Need Chatbot Escalation to Live Agent? Read This
This tutorial provides clear instructions for setting up chatbot escalation to live agent functionality in Microsoft Copilot Studio. While chatbots can handle around 79% of routine questions, a smooth escalation path is vital for complex issues. You can achieve this configuration in Microsoft Copilot Studio using the built-in 'Transfer to agent' node. These instructions will guide your chat setup with Microsoft Copilot. For our example, the live agent platform will be Dynamics 365 Omnichannel for Customer Service. This guide will help you create a better service conversation between your copilot and a human agent, similar to the seamless transitions offered by Sobot's comprehensive solutions.
Prerequisites for Escalation
Before you can configure the handoff, you need to ensure your environment is set up correctly. Following these initial instructions will save you time later. Proper setup involves confirming your licenses and connecting your copilot to the agent engagement hub.
Confirm Required Licensing
First, you must verify that you have the correct product licenses. A basic Microsoft Copilot license does not include the ability to transfer a chat to a live agent. You need specific subscriptions to enable this feature.
Important Note: To unlock the full capabilities of Copilot Studio, including live agent hand-off, you must upgrade to a standalone subscription.
Your licensing checklist should include:
- A product license for Copilot Studio.
- A product license for the Chat Add-in for Dynamics 365 Customer Service.
Having these licenses in place is the first step toward creating a seamless service experience where an agent can take over when needed.
Connect Copilot to Dynamics 365
After confirming your licenses, you need to connect your copilot to your Dynamics 365 instance. This connection allows the bot to access the agent hub. You can create your agent in the Copilot Service admin center or directly within Copilot Studio. These instructions show you how to establish the connection.
Follow these steps to link your Microsoft Copilot bot:
- Go to your Copilot Studio portal and navigate to "Channels" in the side menu.
- Select "Dynamics 365" and follow the wizard to complete the configuration. This gives the bot conversation control.
- In Dynamics 365, go to the Omnichannel Administration app to configure your chat widget settings.
- Link the widget to your Microsoft Copilot bot to give it control over the initial interaction.
- Set up routing rules to ensure the chat goes to the right agent or queue.
These instructions provide the technical foundation for a successful escalation from the copilot to a human agent.
A Step-by-Step Tutorial for Chatbot Escalation to Live Agent
Now that you have the prerequisites in place, you can configure the actual handoff. This tutorial provides step-by-step instructions to build a reliable path from your copilot to your support team. Following this actionable guidance ensures a smooth transition for your customers.
Create or Edit an Escalation Topic
Your first step is to create a dedicated topic that handles escalation requests. A topic in Copilot Studio is a defined conversation path. You can create a new topic specifically for this purpose or add escalation logic to an existing one.
To start, you need to define how your copilot recognizes a user's request to speak with a person. You do this with trigger phrases. Good trigger phrases are essential. They help the copilot understand the user's intent correctly and avoid unnecessary escalation.
Here are some best practices for your trigger phrases:
- Use short, direct phrases instead of long sentences.
- You can include punctuation if users might type it.
- Add several different phrases to cover various ways a user might ask for help.
For example, you can add the following phrases to your topic:
- "can I talk to someone"
- "talk to a live representative"
- "speak with representative"
- "talk to a representative"
These instructions help you build a robust topic. A well-designed topic ensures the correct actions are presented to the user. This improves triggering performance and reduces the chances of a user getting frustrated.
Add the 'Transfer to agent' Node
Once your topic is set up to trigger correctly, the next step-by-step action is to add the handoff mechanism. In Copilot Studio, you use the 'Transfer to agent' node to manage this process. This node ends the copilot conversation and passes control to your connected agent hub.
Follow these instructions to add the node:
- Open the topic you created for escalation.
- On the authoring canvas, select the Add node icon (
+). - Navigate to Topic management and select Transfer to agent.
Before the transfer happens, you should inform the user. A clear message manages expectations and creates a better experience. You can add a Message node right before the 'Transfer to agent' node.
Pro Tip: Always explain to the user why you are transferring them. Asking for their permission gives them a sense of control over the conversation.
Here are some effective pre-escalation messages you can adapt:
- “Got it—let me get you over to the right person so you don’t have to repeat anything.”
- “Thanks! Please hold while we connect you with someone who can help.”
- “Of course. We want to be sure we get you to the right person. I will now connect you with a team member who can help.”
This simple step-by-step addition makes the chatbot escalation to live agent process feel much smoother for the customer. It prepares them for the handoff to one of your live agents.
Configure the Private Agent Message
The final step-by-step part of this process is to give your live agents the context they need. A blind transfer forces the customer to repeat information. This creates frustration and wastes time. The 'Transfer to agent' node has a feature to prevent this.
You can add a private message for the agent. This message is only visible to the agent in their workspace. It is not shown to the customer. This is where you provide critical agent instructions. The goal is to inform the agent about the case in advance. This ensures the receiving agent has immediate context for the conversation they are about to join.
These instructions will help you configure the message:
- Select the Transfer to agent node in your topic.
- The properties pane will open on the side.
- Find the Private message to agent field.
- Enter the text or variables you want to send to the agent.
Your private agent instructions should summarize the chat so far. You can use variables that your copilot collected during the conversation. For example, you can include the customer's name, issue category, or a summary of their problem. This information is stored in the va_AgentMessage context variable and passed to the agent. This simple action equips your agent to take control of the chat effectively and provide immediate, personalized help. It is a key part of a successful chatbot escalation to live agent strategy.
Enhancing the Experience for Live Agents
A successful handoff is a two-way street. You configured your copilot to pass the conversation, but what happens next? The experience for your live agents is just as critical. A clunky, disorganized agent workspace leads to long wait times and frustrated customers, undoing all the hard work of your chatbot. Providing your agent with the right tools gives them control and ensures a high-quality service interaction.
The Importance of the Agent Workspace
Think of the agent workspace as the cockpit for your support team. A well-designed system gives your agent immediate context and clear instructions on how to proceed. It turns a potentially chaotic situation into a structured process. An effective workspace equips your agent to resolve issues faster.
A powerful agent platform provides:
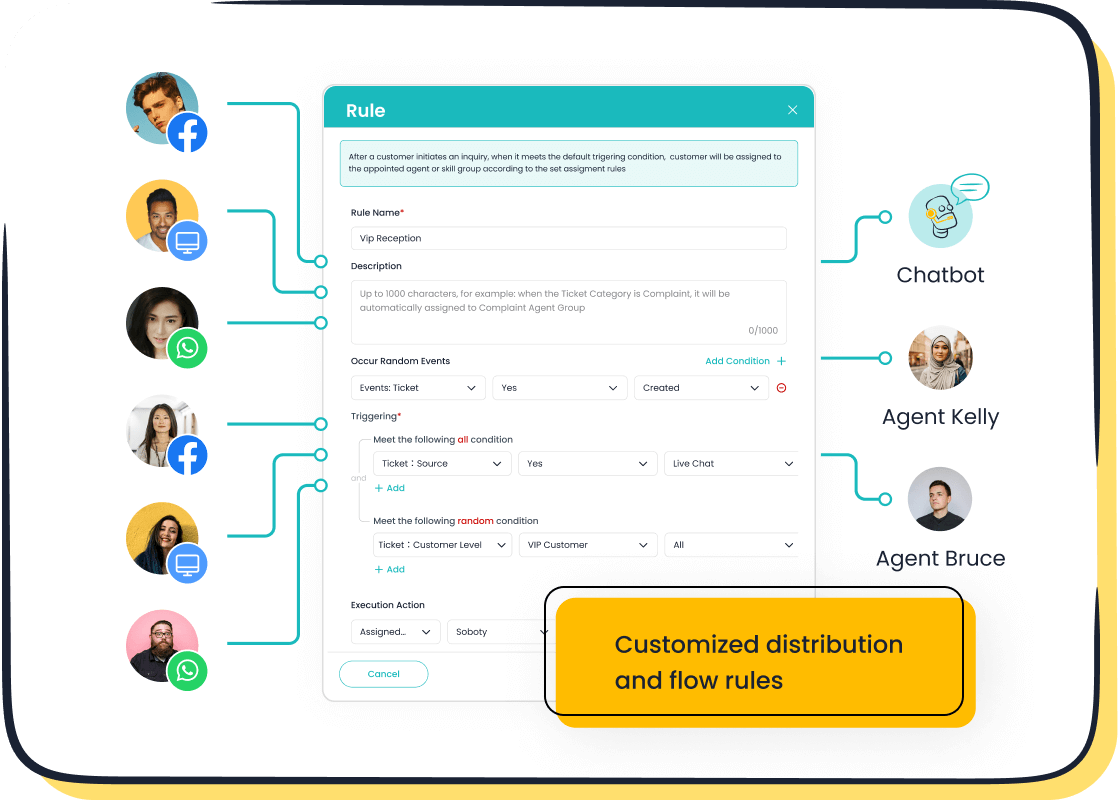
- Intelligent Routing: It sends the chat to the best available agent based on the issue's complexity and the customer's history.
- Contextual Knowledge: It gives the agent a unified view of all past interactions and customer data.
- Clear Protocols: It defines roles and responsibilities, so every agent knows their part.
These elements empower your agent to take control of the conversation from the first moment, without making the customer repeat information.
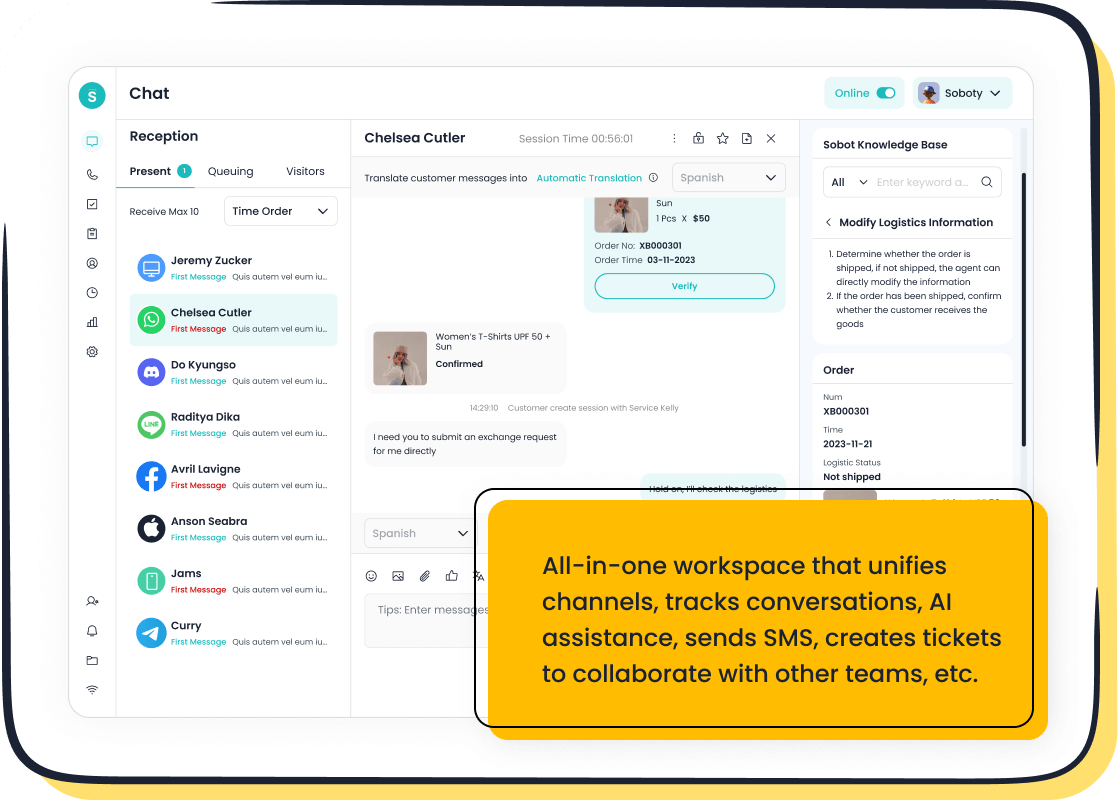
Unifying Channels with Sobot Live Chat

To create this ideal environment, you need a platform that unifies your customer channels. This is where a solution like Sobot Live Chat excels. Instead of forcing live agents to jump between different apps for email, social media, and web chat, Sobot brings every conversation into a single, AI-enhanced workspace. This all-in-one approach eliminates data silos and streamlines agent instructions. For example, leading smart device company OPPO used Sobot to integrate its global channels, achieving an 83% chatbot resolution rate and boosting service efficiency.
A unified inbox provides significant advantages for your live agents:
- Faster Resolution: Consolidating every chat and ticket speeds up response times.
- Personalized Service: Access to complete chat history allows for a tailored conversation.
- Simplified Workflow: A single interface for all agent instructions reduces complexity and boosts productivity.
Boosting Agent Efficiency with AI
Beyond a unified view, modern platforms boost efficiency with AI-powered tools. Sobot's AI acts as a helpful assistant for your live agents. It works in the background to provide real-time support that improves the quality and speed of every chat. When a conversation is transferred, the AI can instantly summarize the key points, providing the receiving agent with clear instructions.
During the chat, the AI analyzes the customer's questions and suggests relevant, human-like responses. This helps the agent deliver precise information quickly. These AI-driven agent instructions ensure consistency in your brand's tone and free up your agent to focus on solving the customer's core problem, turning a good service interaction into a great one.
Testing and Verifying the Handoff
After you configure the escalation path, you must test it. Proper testing ensures the handoff works as expected. You need to verify the process from both the copilot and the agent perspectives. These instructions will guide you through a complete verification.
Test Escalation in Copilot Studio
First, you should test the escalation flow directly within Copilot Studio. The platform provides a testing pane where you can simulate a user conversation. This lets you check if your trigger phrases and transfer node work correctly. Follow these instructions to run a test.
- Open the test pane in your Copilot Studio.
- Start a chat and type one of your trigger phrases, like "talk to an agent".
- Follow the conversation path to ensure the copilot triggers the 'Transfer to agent' node.
This initial test confirms that your copilot correctly identifies the user's intent and initiates the handoff. It gives you control over the user-facing part of the chat experience. These simple instructions help you catch any issues before the feature goes live.
Verify the Handoff in the Agent Dashboard
Next, you need to confirm the handoff from the agent's side. When a chat is transferred, the agent receives a notification and the conversation history in their dashboard. Your agent needs clear instructions to take control of the chat.
You can verify the transfer by checking the metrics in your Dynamics 365 Omnichannel dashboard. This dashboard provides data on every agent interaction. Look for metrics that track the number of conversations passed from the copilot.
Key Metrics to Watch: The dashboard shows how many conversations were passed to a human agent. This data confirms your setup is working.
| Metric | Description |
|---|---|
| Conversations escalated | The total count of bot conversations transferred to an agent. |
| Bot escalation rate | The percentage of bot conversations that result in an escalation. |
These metrics provide proof that the escalation is successful. They show that the conversation correctly moves from the bot to a live agent. Following these instructions gives you full confidence in your handoff process.
You now have the steps to build a successful chatbot escalation to live agent. Your technical configuration involves connecting your agent hub and using the 'Transfer to agent' node. However, a great service depends on more than the bot. A powerful platform like Sobot equips your live agents with the context needed to help a customer. This seamless chatbot escalation to live agent process empowers each agent, reduces frustration, and elevates the entire end-user experience. A happy customer and an efficient agent are the true signs of success.
FAQ
Why is a smooth handoff so important?
A smooth chatbot escalation to live agent process prevents customer frustration. You avoid making users repeat themselves. This builds trust and shows you value their time, leading to a better overall service experience and higher satisfaction.
Can I use a platform other than Dynamics 365?
Yes, you can. Copilot Studio supports integration with other engagement hubs. However, you must ensure your chosen platform can receive the conversation context. A powerful, unified workspace like Sobot Live Chat is essential for agents to succeed after the handoff.
What makes an agent's platform effective for escalation?
An effective platform gives your agents a complete customer view.
It unifies all channels into one workspace. This provides agents with the history and context needed to solve problems quickly. This is a key part of a successful chatbot escalation to live agent strategy.
See Also
Achieve Excellence: Live Chat Strategies for Superior Customer Service
Optimize Your Team: A Manager's Guide to Live Chat Success
Maximize Productivity: Enhancing Your Round-the-Clock Live Chat Operations
Seamless Connections: Your Guide to Effortless Live Chat Agent Access
Retail Revolution: Dominating the Market with Expert Live Chat