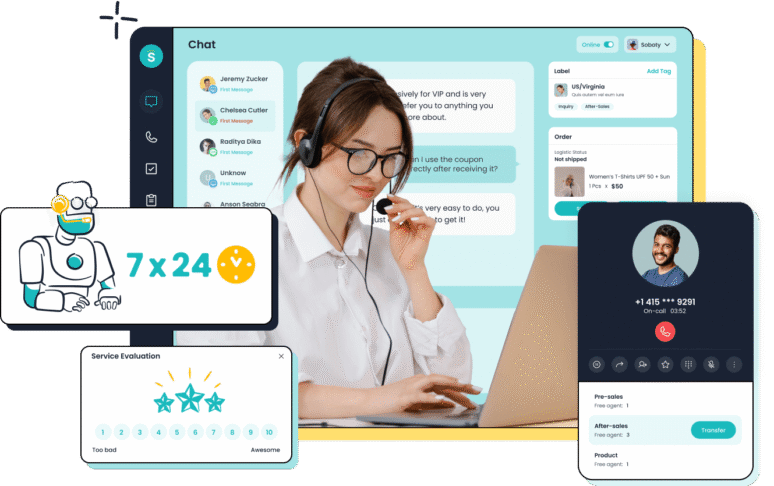
WhatsApp Business API is a powerful tool for businesses that want to connect with customers at scale. Unlike the regular WhatsApp Business app, the API allows automated messaging, customer support, and integration with CRM systems. In this guide, we explain how to get WhatsApp Business API and set it up for your business.
Understanding WhatsApp Business API
The WhatsApp API for business enables businesses to send notifications, provide customer support, and automate conversations on WhatsApp. It is designed for medium to large businesses that need to communicate with multiple customers efficiently. With API access, you can integrate chatbots, manage messages, and enhance engagement while maintaining privacy and security standards.
Step 1: Create a Facebook Business Manager Account
Since WhatsApp Business API is managed through Meta, the first step is to set up a Facebook Business Manager account. Go to business.facebook.com
and register your business. You will need to provide details such as your business name, address, website, and tax information. This account serves as the foundation for verifying your business identity before accessing the WhatsApp Business API.
Step 2: Verify Your Business
Business verification is mandatory for WhatsApp API access. Submit your official documents, such as a business registration certificate or tax ID, for review by Facebook. Verification ensures your business is legitimate and eligible for messaging on a larger scale. Once approved, your business status will show as verified in the Facebook Business Manager dashboard.
Step 3: Apply for WhatsApp Business API Access
After verification, apply for WhatsApp Business API through the Facebook Business Manager or a verified WhatsApp Business Solution Provider (BSP) like Twilio, MessageBird, or WATI. These providers simplify the process and provide tools for chatbot integration, message templates, and analytics. Choose a provider that suits your business needs and budget.
Step 4: Set Up a WhatsApp Business Number
To use the API, you need a dedicated phone number for your WhatsApp Business account. The number must be able to receive SMS or voice calls for verification purposes. Once the number is verified, it can be connected to the API via your chosen BSP or directly through Meta’s interface.
Step 5: Connect Your System and Automate Messaging
After your number is verified, you can connect it to your customer support system, CRM, or chatbot platform. Use the API to send automated notifications, respond to customer queries, and manage multiple conversations simultaneously. Designing clear conversation flows and templates ensures that interactions remain professional and engaging.
Step 6: Monitor and Maintain
Maintaining WhatsApp Business API requires continuous monitoring. Track delivery rates, response times, and customer interactions to optimize your messaging strategy. Regularly update your message templates and ensure compliance with WhatsApp’s policies to maintain a smooth business experience.

Conclusion
Getting WhatsApp Business API opens opportunities to scale communication and improve customer engagement. By creating a Facebook Business Manager account, verifying your business, applying for API access, and connecting your system, you can leverage automated messaging and chatbots effectively. Continuous monitoring and optimization will ensure that your WhatsApp Business API remains a valuable tool for your business growth.


